There are also directions at http://thewarpfactor.blogspot.com/2012/01/hochdorf.html and http://www.b-oberholz.de/editor/druckansicht.php?id=297 but they are threaded differently. Instead of all S, they are threaded SSZZSSZZ... I decided to try Guido's technique first even though the alternating SSZZ threading means being able to move the pack all in the same direction rather than alternating two forward and two back. I did this so I would better be able to understand his section on drafting patterns. Since I am including the directions that I followed, I am going to write what I noticed rather than complete instructions.
I threaded two selvedge cards for each edge with four threads two white, and two blue. I then threaded 32 cards with one blue and one white thread in opposite corners. All except the selvedge were threaded S. I chose the blue as my guide color and the first card had blue in A position, with the blue thread rolling placement around the following cards just like in diagonals. Card two blue was in B, card three in C, and card 4 in D. This results in the first two cards having blue in the holes closest to your body, while the next two cards have blue in the holes furthest from your body. This alternates across the pattern section of the band.
The first problem I ran into was keeping my cards from turning without my guidance. Because the pattern cards are only threaded in two holes at opposite corners (ex: A and C holes) the thread rolls the card resulting in an empty hole sticking straight up. This was solved by making a card board rest to keep my cards from rolling. I also found that wooden cards work much better for this technique since they are stronger and not as slick as my playing card ones. I'm only using a few playing card ones at the ends, and they are still driving me crazy and getting a bit mangled. And you really want to tie your cards together when you walk away from the loom.
This technique is basically double faced weave moving two cards as one. To weave the ground roll the first two cards away from you, and the second two cards towards you. You should have all blue on the top. Pass the weft and do this again also passing the weft. Then reverse the turning direction to the first two cards rolling back towards you, and the second two away from you. Just as you can in double face you know you are going the wrong direction if your floating thread doesn't get pulled back into the weave. Rather than trying to keep track of which direction I was supposed to be moving my cards, I rolled them in the direction to bring blue to the top holes, then test rolled my first two cards till I knew which direction pulled them back into the warp. If forward was the right direction I then rolled the second two cards backwards repeating this across the band.
To make the zigzag bring white to the top of the cards instead of the blue. Then move them back to the home positions. Go back to bringing the blue to the top. I made sure the center four cards came to a downward point in the zigzag. This helped me to know which four cards start the base of the actual pattern without having to count in from the sides. The pattern needs to start when your blue floating threads are not in the center most position, or the slant will be wrong. If you don't get a V, back it out, weave one more segment of the ground, and try again on the next line.
I just used the outline section of the chart from the third website I posted, and ignored the rest of it. Amalie's chart was great, but it was hard to just use it for the outline because I think I really wanted to change my warp to alternating SSZZ, so I kept getting confused. When I needed a white line I slid the cards that would be white slightly to the front of the pack. For me this is easier to slide them back into the pack later. Just as in double faced you only change colors when the cards are in home position, but instead of adding additional rolls or flipping on the vertical axis you just roll the color you want to the top of the card. If you get lost in the pattern, home is always two blue in the front or back holes alternating across the band. This is true even when you have been changing to white, and helped me keep track of the pattern.


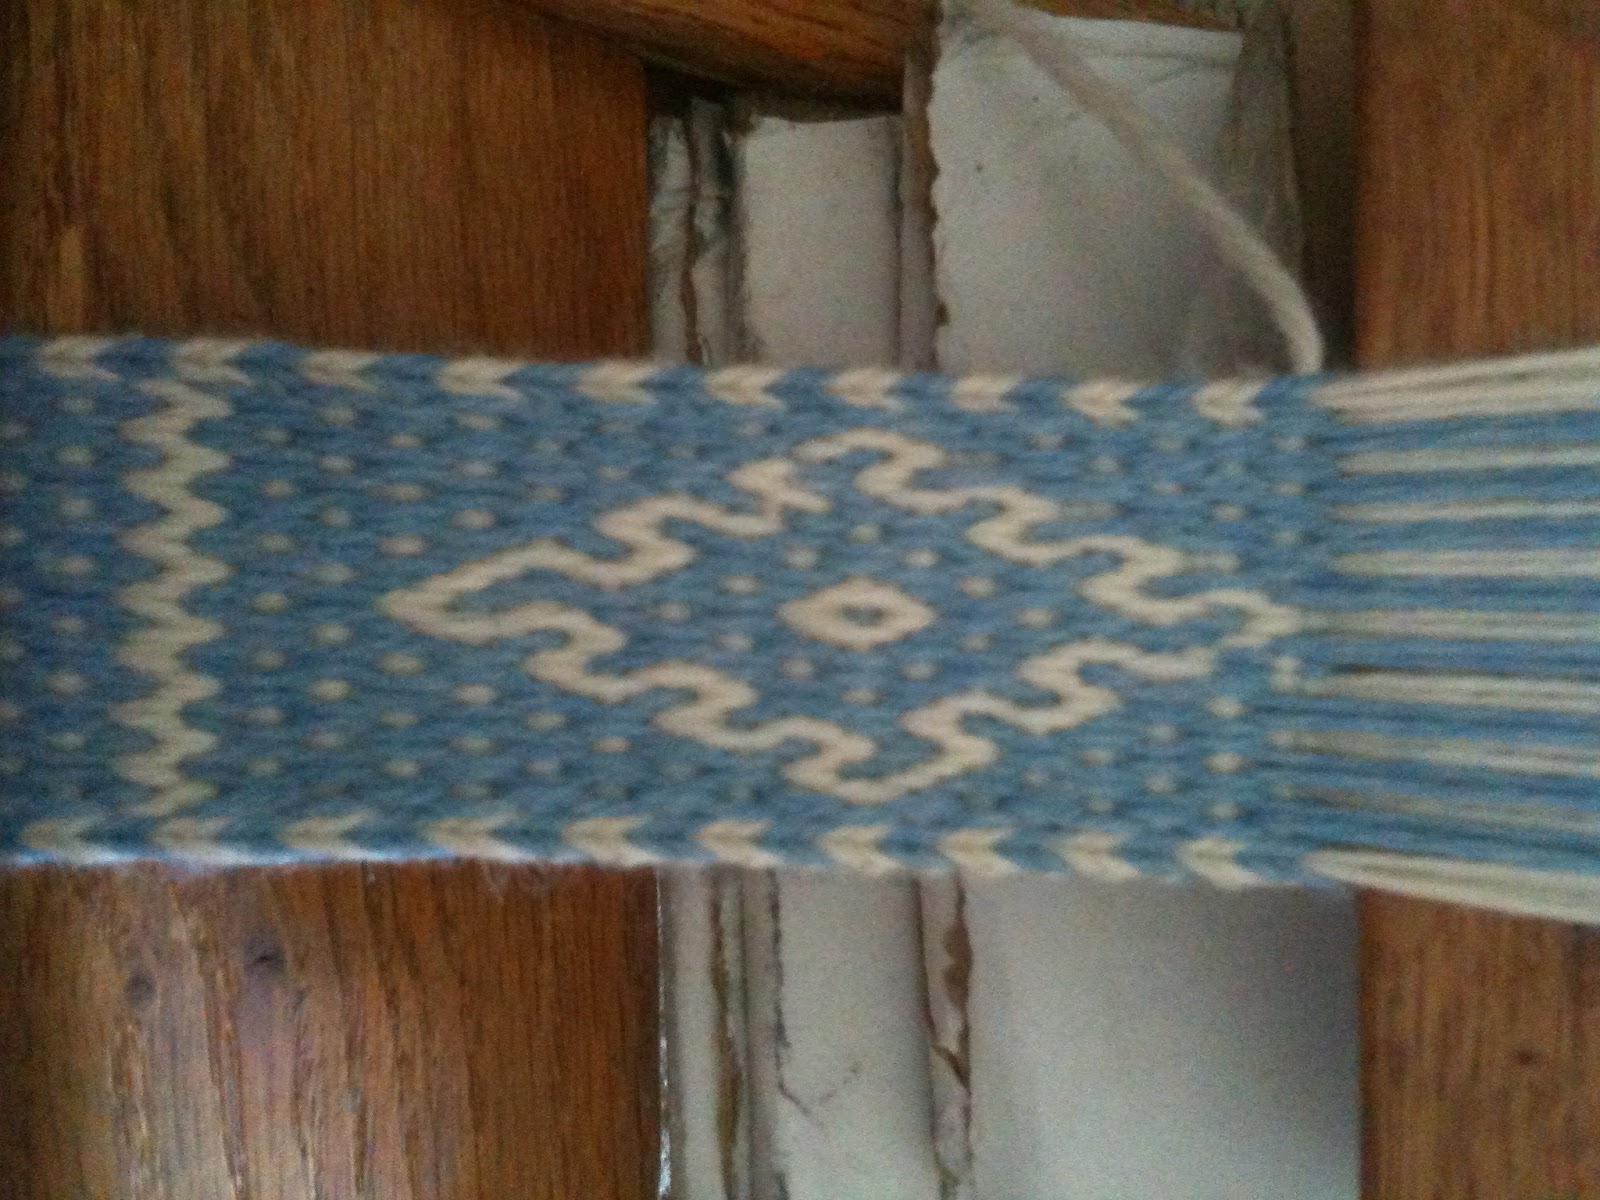
I have two errors here. Just below the middle on the left side, and just before the top of the pattern. Both of these were due to letting my cards get out of order, and how I figured out that the two blue in front then two in back needed to stay constant across the band when in the home positions.
This is what the pattern looks like if you just roll it all backwards.

This is great! Good photos and clear instructions.
ReplyDeleteLOVE this. I will *definitely* have to try this pattern.
ReplyDelete